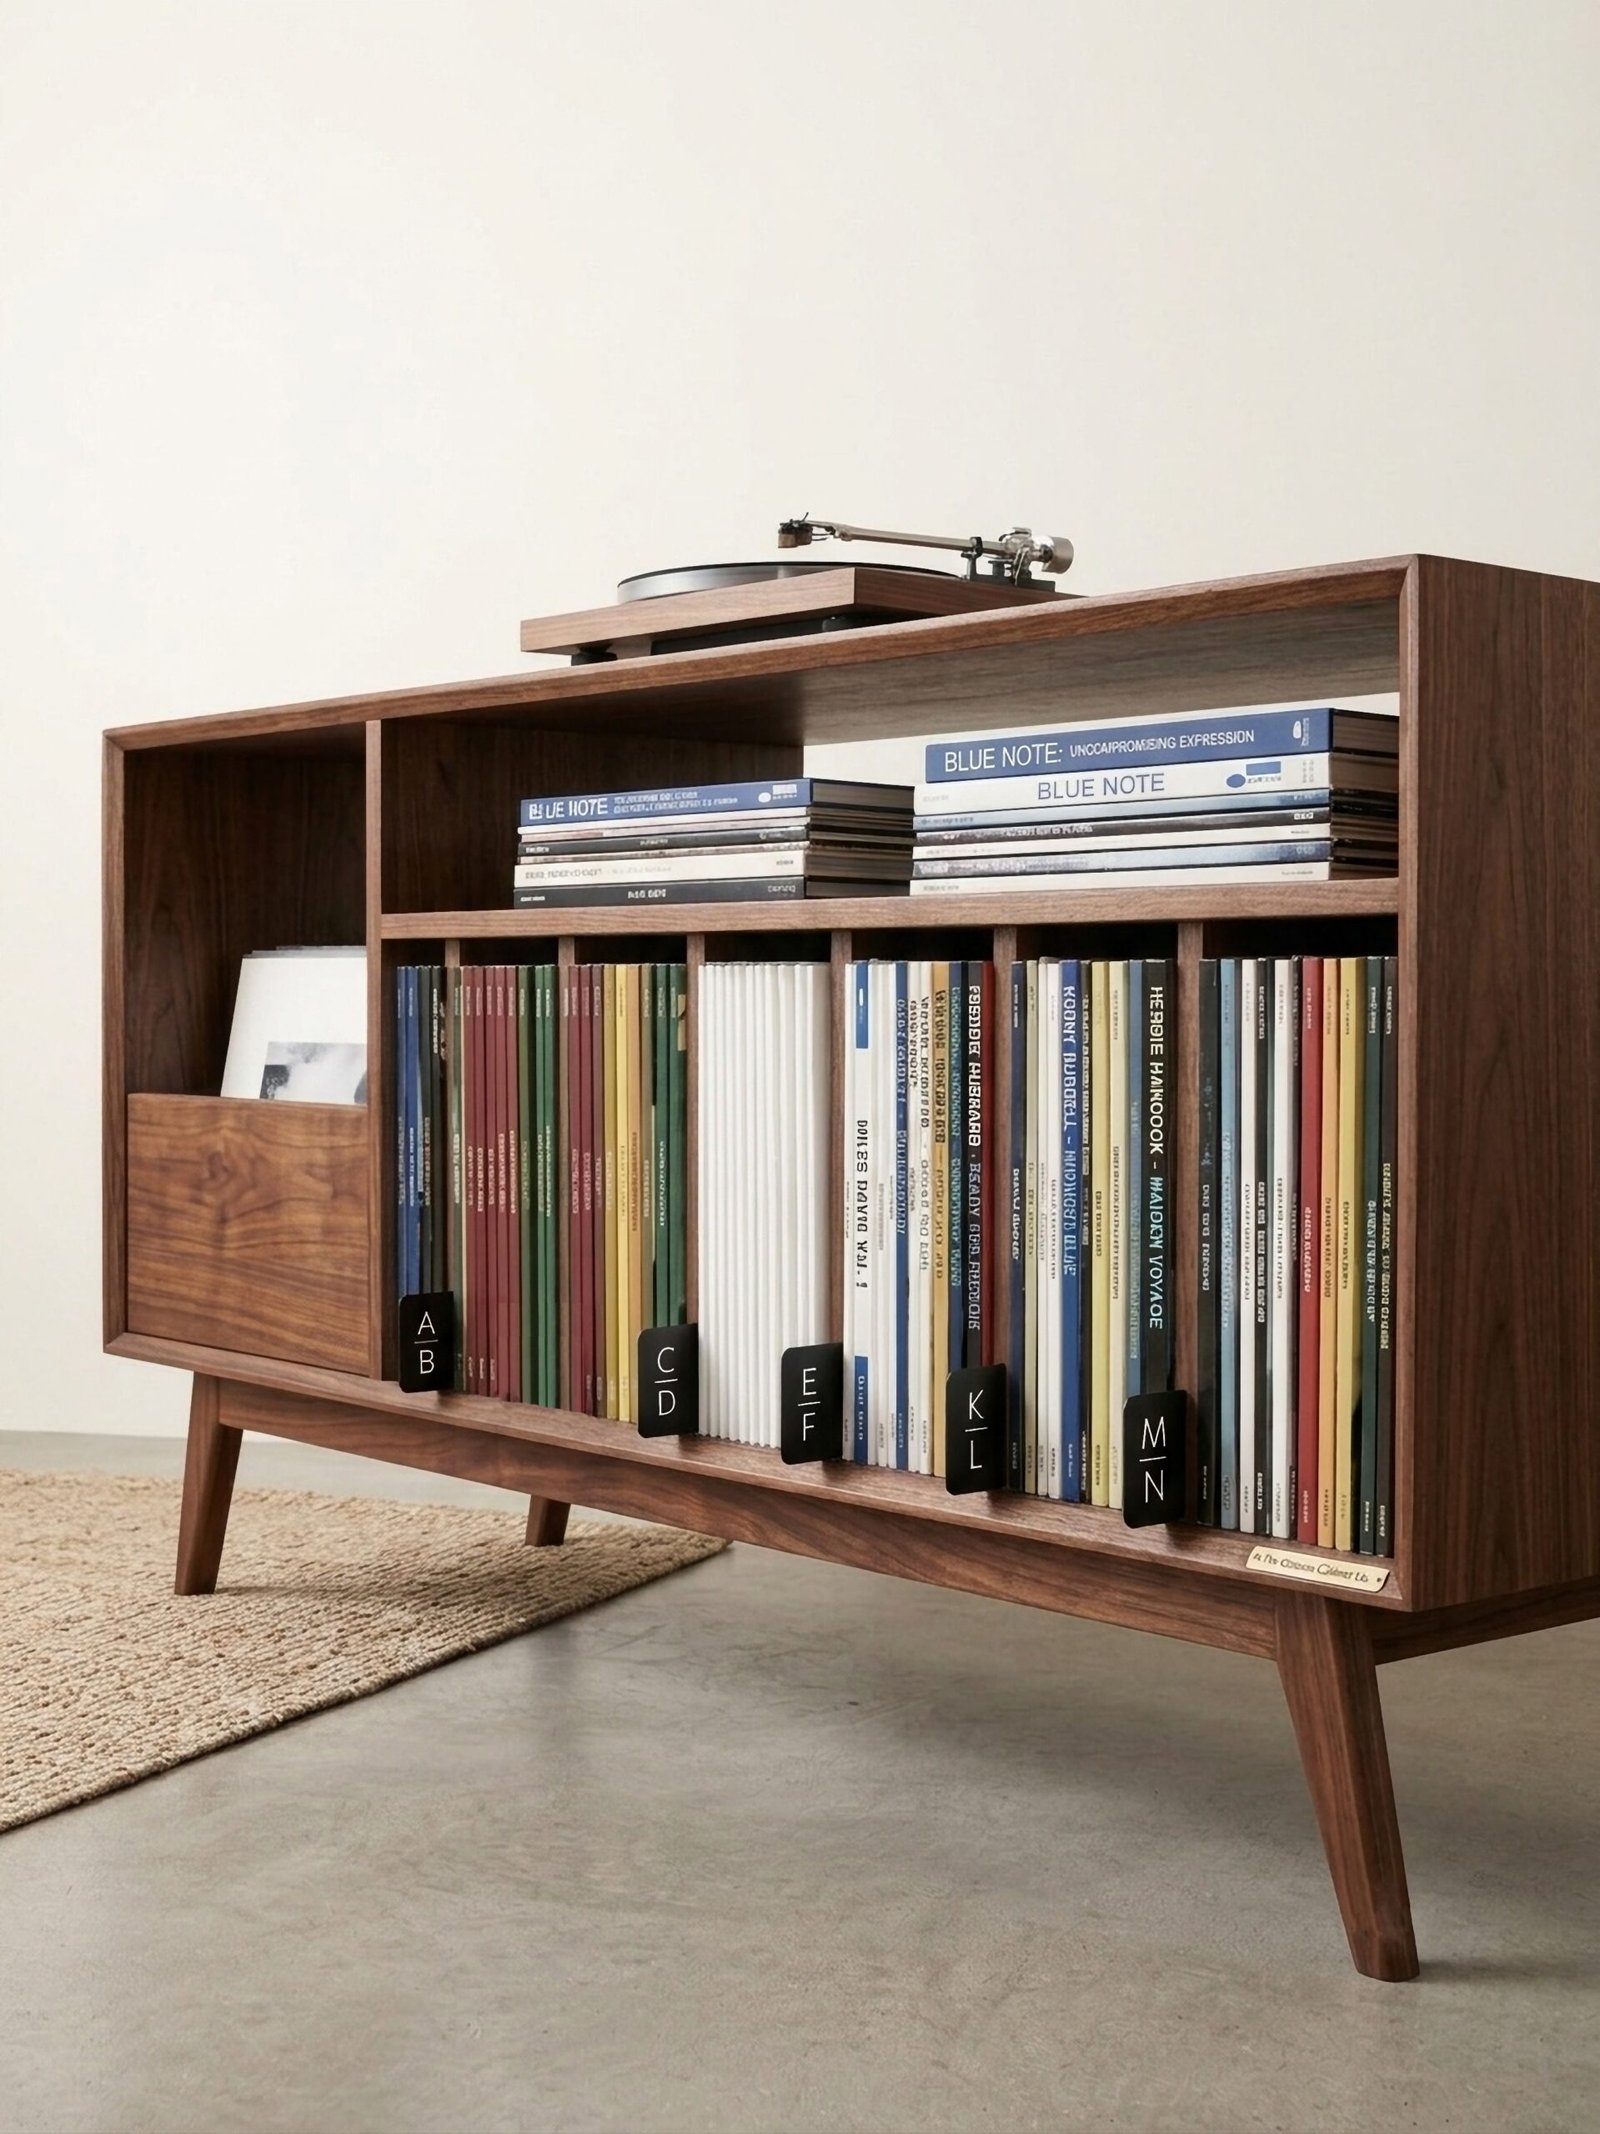

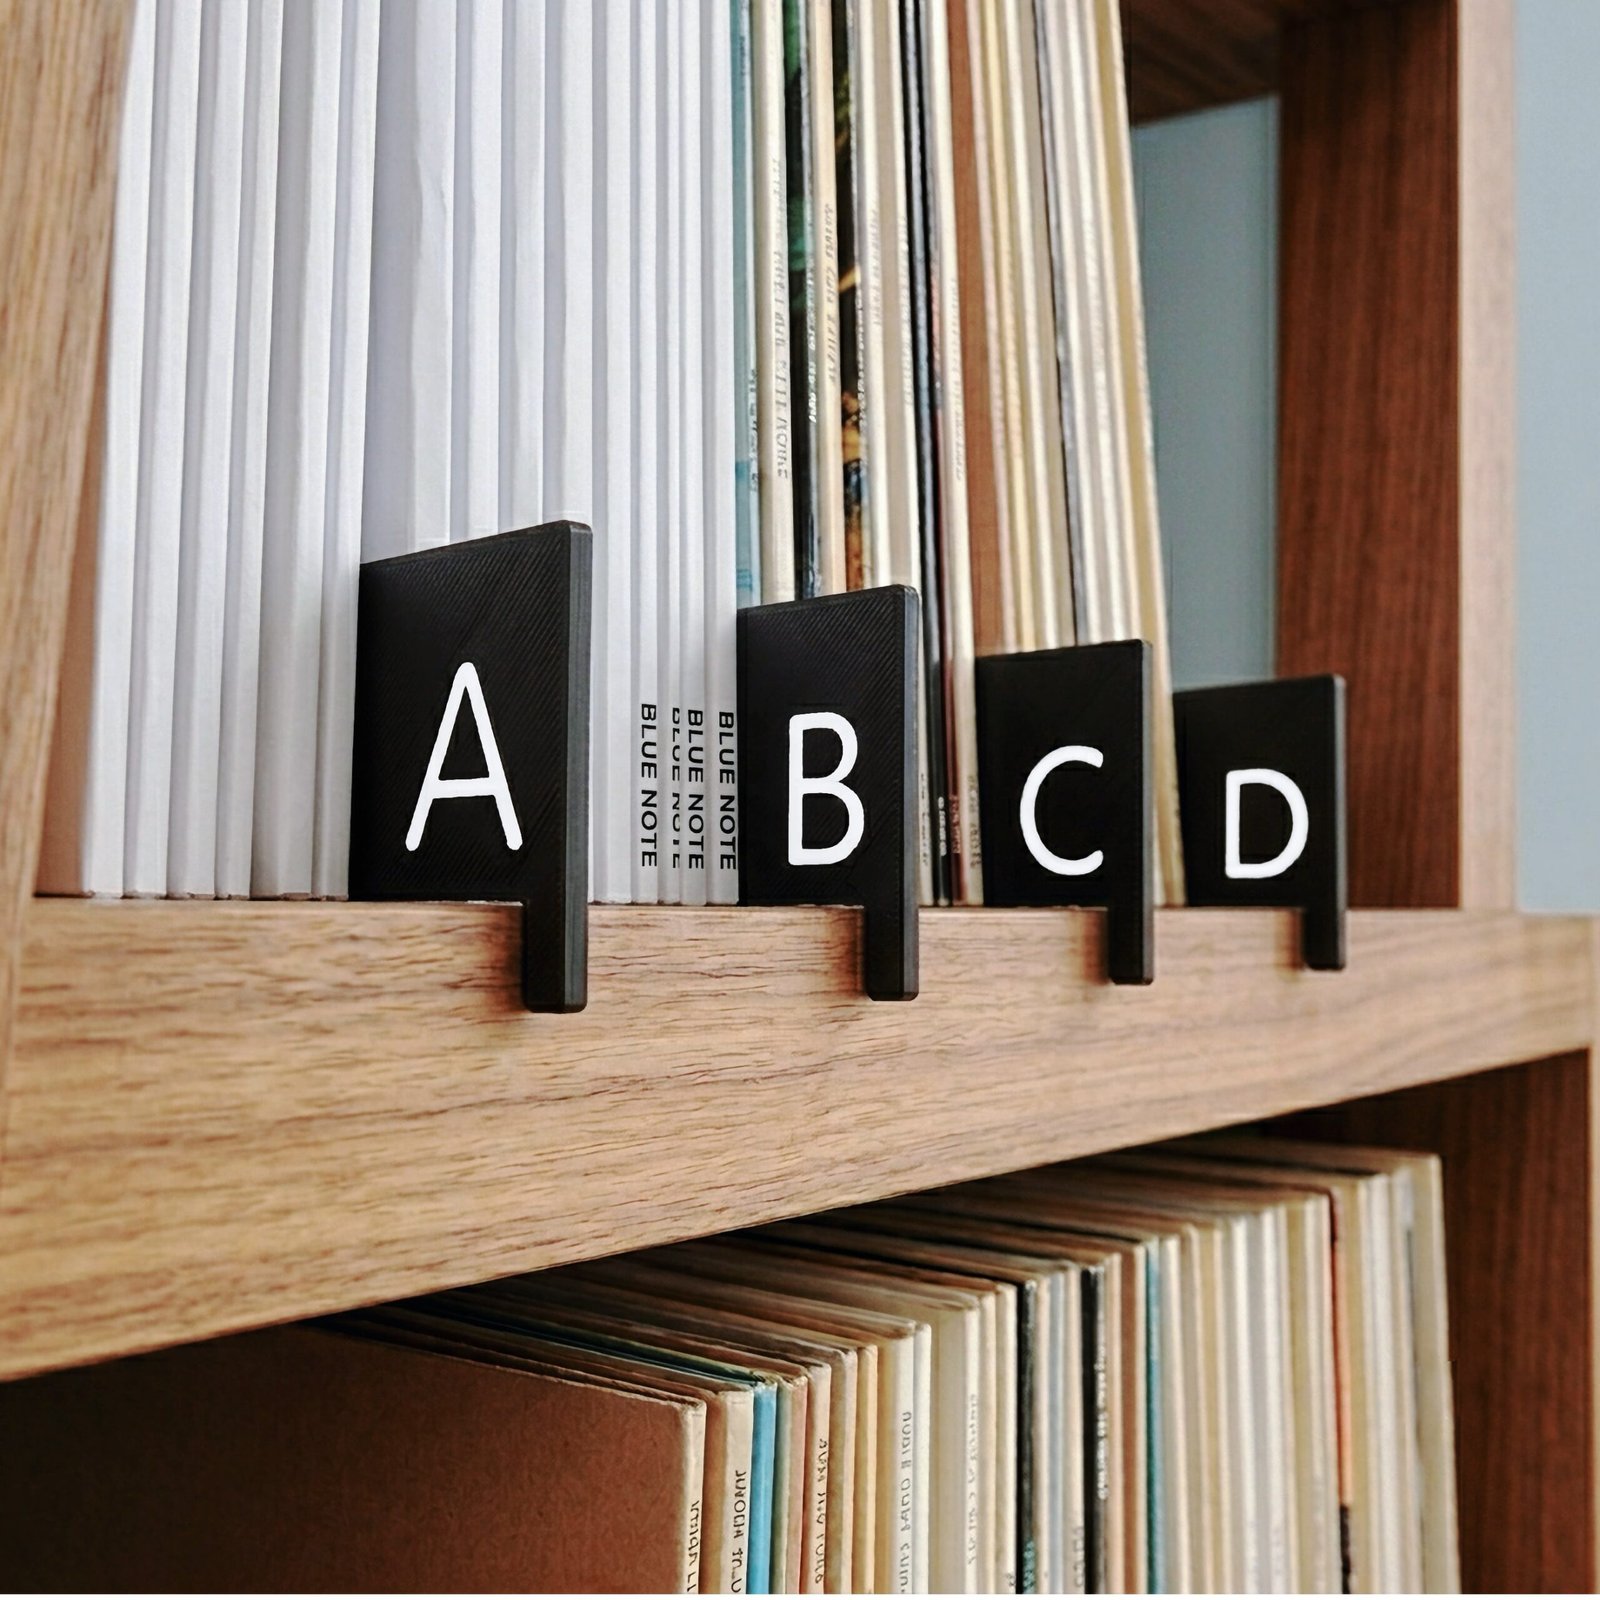
A clean vinyl setup isn’t only about aesthetics. It’s about making it effortless to find and play what you love.
Here’s a simple system that works whether you have 30 records or 300.
Step 1: Pull Everything Out
Take all your records out of storage.
Why?
- You need a clean reset
- It’s easier than reorganizing in place
Step 2: Choose Your System

Pick one:
- Alphabetical
- Genre
- Hybrid (recommended)
Don’t overthink it, just commit.
Step 3: Sort in Sections
Create physical stacks:
- A–F, G–L, etc.
or - Rock, Jazz, Hip-hop
This makes the next step easier.
Step 4: Add Dividers
Before putting records back, place your dividers (you can use temporary written ones on cardboard, if needed, until you invest in a long-term set!):
- Alphabet tabs
- Genre tabs
This is what turns a pile into a system.
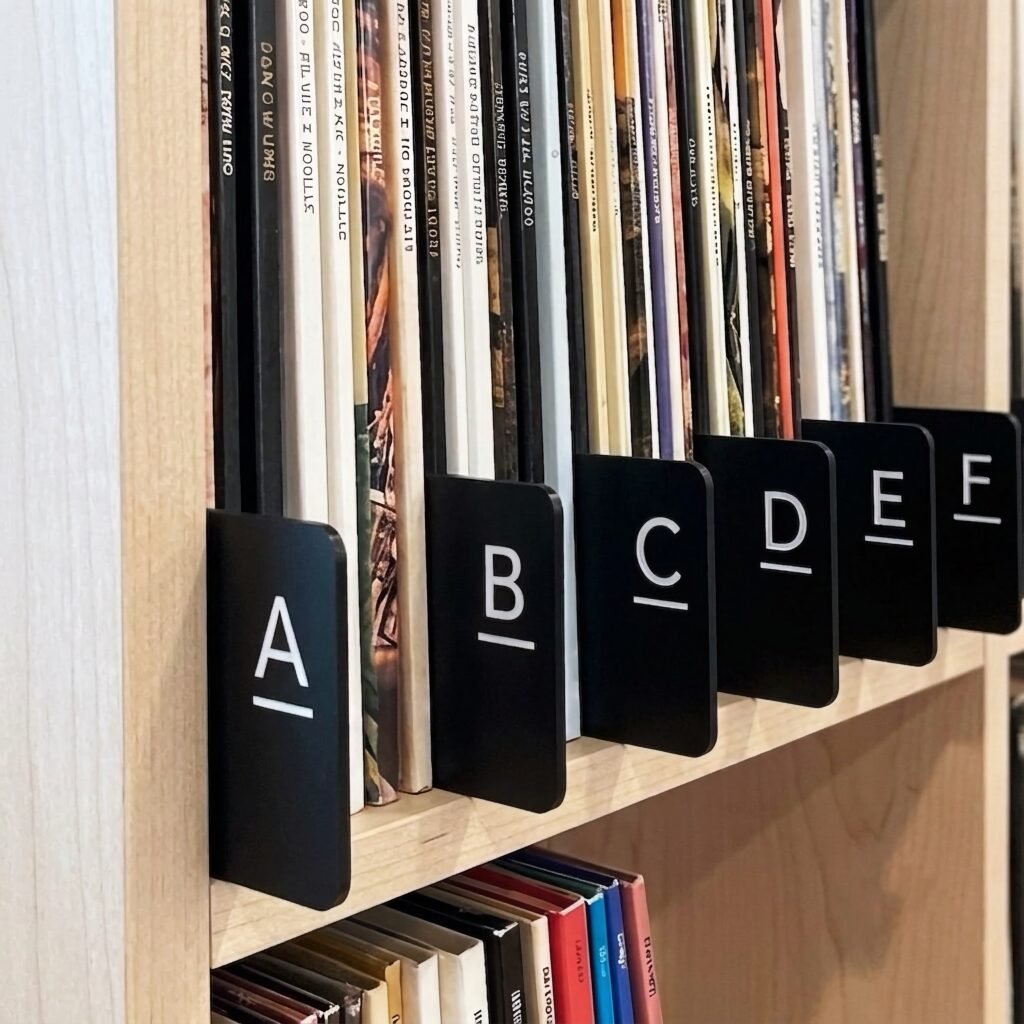
Without dividers, everything blends together again in a week.
Step 5: Load Records Back In
Now place records into your crate or shelf:
- Keep them upright (no leaning)
- Don’t overpack (records need breathing room)
Step 6: Maintain the System
Every new record:
- Goes in the correct spot immediately
- No “I’ll fix it later” pile
This is where most systems fail.
Why This Works
You’re not just organizing. You’re building a repeatable system.
And once it’s set:
- You spend less time searching
- More time listening
Upgrade Your Setup
If your setup still feels messy, the issue usually isn’t your method—it’s visibility.
Clean, minimalists dividers make your system obvious at a glance and keep it that way.